|
Having never given it much thought, I suppose I always imagined that cardamom grew on a shrub or tree. The reality is far more interesting. Did you know that cardamom is related to ginger and turmeric? All three are members of the ginger family (Zingiberaceae). But there are several different kinds of cardamom. Cardamom varieties There are two main types and a handful of lesser-known culinary cardamoms. True or green cardamom (Elettaria cardamomum) is used in sweet and savory dishes and is light green. It is called white cardamom when it has been bleached. Larger and darker black cardamom seeds (Amomum subulatum) are also known as brown and Nepal cardamom and are more commonly used in savory dishes. Other culinary cardamoms include the following:
All of these plants are native to tropical and subtropical Asia, which provides a strong hint about how they grow and what they look like. Don’t let the Latin names scare you off. They come in very handy when shopping for specific plant varieties. Cardamom plant(s) Cardamom plants look like many other tropical plants. They have a dozen or so erect, cane-like stems with large, glossy, lance-shaped leaves. In late spring or early summer, leafless stems emerge from the crown with small yellowish-white flowers that look like orchids, with colorful veins and margins. These flowers have no scent but eventually produce small pods that contain 15 to 20 seeds. Grown outdoors, a cardamom plant may grow up to 15 feet tall and 10 feet wide, though most are significantly smaller. Indoor cardamom plants only reach a height of two to four feet tall.
These plants are slow starters. They may only be one foot tall after two years. In the third year, they may be twice that tall. And that’s when seed production begins. How to grow cardamom Cardamom can be grown from seeds or thick, knobby rhizomes. These plants prefer loose, nutrient-rich, slightly acidic soil (5.1-6.1 pH), partial to full shade, and relatively high humidity (think lower canopy of a jungle), which makes them ideal house plants, especially in the bathroom. They perform well in containers (preferably 14 inches tall and wide or bigger). Cardamom does not take kindly to being transplanted, so plan accordingly. You can grow cardamom outside in USDA Plant Hardiness Zones 10-12. If you can plant it in a rain garden, all the better! Seeds should be planted 1/8 inch deep. They take a month or so to germinate. Some people recommend soaking seeds ahead of time. Personally, I worry about damping off and other fungal diseases. You do need to keep the soil moist and provide good drainage. Areas where cardamom grows naturally receive 150 inches of rain each. You want to keep your cardamom plant’s environment stable at or above 72°F/22°C. They don’t like changes, extremes, or direct sunlight. Feed your cardamom plant high-phosphorous fertilizer twice a month during the growing season. Top dressing with aged compost will help keep your cardamom happy and healthy. If growing cardamom indoors, know that flowering and seed production are less likely. If flowers do appear, you probably only have one day to hand-pollinate. It’s actually quite simple. Use a small, preferably natural bristle paintbrush and touch the male anther to collect microscopic pollen grains, then touch the female stigmas. The more you do this, the more likely pollination will occur. If successful, the flower will fall off, and the fruit (ovary) will swell. Harvest the pods when they begin to split. They should come away easily. If they don’t, give them another day or two. Cardamom pests and diseases Cardamom is a relatively trouble-free plant. However, aphids may infect plants with cardamom mosaic, and thrips feeding can be a problem. Cardamom plants are productive for eight or nine years, on average. Your experience may vary. Did you know that green cardamom is the third most expensive spice by weight, following saffron and vanilla? I didn’t either. Luckily, it only takes a little for that warm, exotic flavor. And if you grow your own, it's free. 
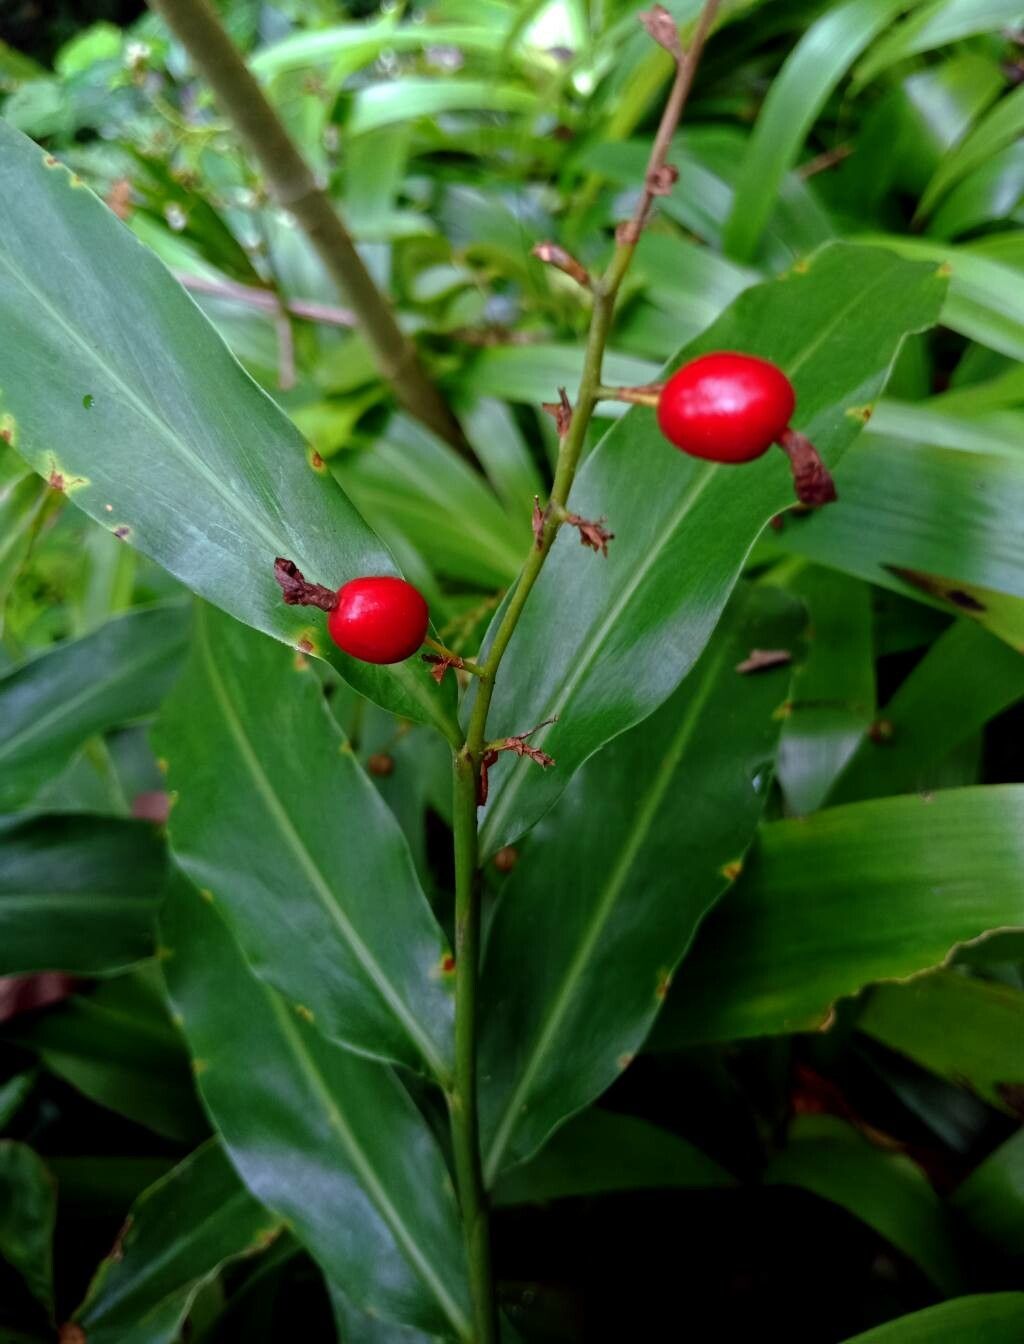
Have you ever heard of galangal? I saw it used on an episode of Chopped and had to learn more. Imagine ginger crossed with horseradish, black pepper, and a little pine. To me, that sounds like a perfect addition to stir-fry. Even more intriguing, the fragrant flowers, glossy leaves, tender shoots, and cardamom-flavored berries are also edible. Galangal is a rhizome that looks a lot like ginger but has more of a peppery bite. It is a popular ingredient in many Asian dishes and you can grow it at home. Not only does galangal make a tasty ingredient, but it is also an attractive grass plant. Galangal is a member of the ginger family (Zingiberaceae) and a close cousin of turmeric. Before you jump on the galangal bandwagon, you need to know that four different plants go by that name:
All of them are edible, but we are only discussing the Alpinia galangals here. Lesser galangal has a more bitter pine flavor, while great galangal has a more medicinal ginger flavor. Under ideal conditions, greater galangal can grow 6 feet tall and 3 feet wide. Lesser galangal is smaller.
Plant rhizomes when the soil is warm. Cover them with 3 or 4 inches of soil. Space plants 12-18 inches apart. They will need good drainage and partial or full sun exposure. If you have scorching summers, your galangal may need protection from the afternoon sun to prevent sunburn damage. Use a one-gallon or larger container for potted galangal.
These plants need plenty of water in the early stages. Soaker hoses are an excellent tool for watering galangal. Mulching around your galangal will help the soil stay moist without becoming soggy. How you feed your galangal will depend on where it is being grown. An inexpensive lab-based soil test can tell you what you need to feed plants growing in the ground. Container-grown galangal will benefit from light monthly feedings of fish emulsion or other balanced fertilizer. Galangal pests and diseases When ginger stalks turn brown, they are dead. Cut them off and add them to the compost pile. When galangal stalks turn brown, it is often a symptom of too much or too little water. Chlorosis or dull leaves may indicate insufficient nutrients. The most common pests include aphids, root borers, grasshoppers, and spider mites. Beneficial insects and the judicious use of Bt can eliminate most of these pests. Severe infestations may require the use of spinosad. Prevent root rot and rust by avoiding overhead watering and ensuring good drainage. Harvest your galangal by digging up the entire plant, removing what you want, and replanting the rest. Instead of tamping down the soil, which damages valuable root hairs, “mud in” the replanted part. You will want to harvest before the rhizomes become tough. And be sure to save some for replanting. As a bonus, research has shown that eating galangal increases alertness, improves focus, impedes caffeine crashes, and may provide anti-inflammatory protection. And hummingbirds love galangal. How’s that for a stir-fry? |
Welcome!You can grow a surprising amount of food in your own yard. Ask me how! To help The Daily Garden grow, you may see affiliate ads sprouting up in various places.
You can also get my books, Stop Wasting Your Yard! and What's Growing Wrong? Index
All
Archives
November 2025
|
RSS Feed