|
There’s more to sunny marigolds than meets the eye. These brightly colored annual and perennial flowers add gold, yellow, white, red, and copper to the landscape through summer and fall. The simple daisy shapes or full to bursting carnation-like blooms, members of the sunflower family, are able to thrive in our scorching hot summers long after fainter hearts have collapsed. If that weren’t reason enough, there is magic in marigolds!  Red marigold (Kokkarani) CC BY-SA 4.0 Marigold magic
The magic of marigold lies in its scent. While we may (or may not) enjoy it, many animal and insect pests really don’t like it. These makes marigolds an excellent natural deterrent to pests that will attack your tomatoes, eggplant, potatoes, and sweet peppers. Deer, rabbits, moles, and voles are also said to dislike the scent enough to forage elsewhere. Chemicals in the roots even attract and then kill nematodes. While nothing works 100%, marigolds can help reduce some nematode populations as they give your edibles a lovely floral border! Types of marigolds Marigolds used to only be available in yellow carnation type blooms. Now, the range of colors and bloom shapes is astounding. As you shop for marigold seeds or seedlings, keep in mind that there are three main types of marigolds:
Be forewarned, marigolds in the Tagetes genus are generally not edible. If you want edible marigolds, go for the Calendula, or pot marigolds. Growing marigolds Marigolds can be grown in containers, on windowsills, or in any sunny spot in the landscape or garden, as long as they are not near legumes. Some people claim that marigolds should not be grown near legumes. They say that the chemicals that make marigolds beneficial, can also interrupt the nitrogen-fixing capabilities of legumes, such as peas and beans, but I don’t know if this is true. Larger varieties of marigolds should be placed 2 to 3 feet apart, while the smaller, lower growing varieties can be one foot apart. Seeds can be started indoors before the last frost, but they will want a site with plenty of sunshine. While they prefer full sun, marigolds can also be grown in partial shade. Marigold seeds germinate quickly. As they start growing, seedlings will benefit from a layer of mulch placed around them. This mulch will shade the soil, add nutrients, and reduce competition from weeds. After that, they never need fertilizer. In fact, too many nutrients encourages leaf growth, rather than flowers. Flower production can be encouraged by removing, or deadheading, spent blooms. Do not use overhead watering. Instead, water near the base of each plant, allowing the soil to dry out between waterings. Marigold pests & diseases Damping-off disease can be a problem when seeds are started indoors. Marigolds are quite hardy and drought tolerant. Too much moisture can cause bacterial spot, powdery mildew, gray mold, Alternaria leaf spot, and root rot. Aphids and mites may try infesting your marigolds, but a quick spray from the hose early (in the morning), or brushing the pests off with a soft brush, is all the treatment that is needed. Many butterflies are attracted to marigolds, and they make excellent dried flower arrangements. Add marigolds to your garden shopping list and spread some beneficial color!
0 Comments
Sweet, juicy melons are a gardening favorite. Easy to grow, productive and delicious, what’s not to love? It just wouldn’t be summer without slicing through the hard outer rind of a melon and devouring the sweet, refreshing wetness within. 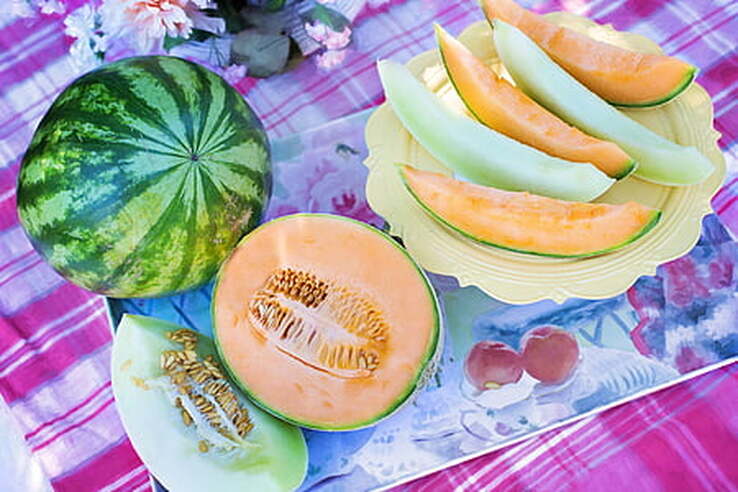 Sliced melons (PickPik) Public Domain Melon families Melons are members of the Cucurbit family, along with pumpkins, squashes, and even luffas! Within the melon family, there are several different groupings (by genus) of some familiar, and some not so familiar, melons:
How melons grow Like their cousins in the squash family, melons grow on vines. Unlike other vegetables crops, however, each vine has both male and female flowers. The male flowers generally appear first and usually only last for one day. Melon pollen is very sticky, so wind pollination does not occur. Honey bees are needed to carry the pollen from one flower to the next. If there are not enough honey bees in your area, you can use a fine paintbrush to transfer the sticky pollen to the female flowers, or you can break off a male flower, remove the petals, and apply the pollen that way. [I collect the pollen-carrying stamen for hand-pollinating, just in case.] Female flowers can be identified by the miniature fruit (ovary) at the base of each blossom. 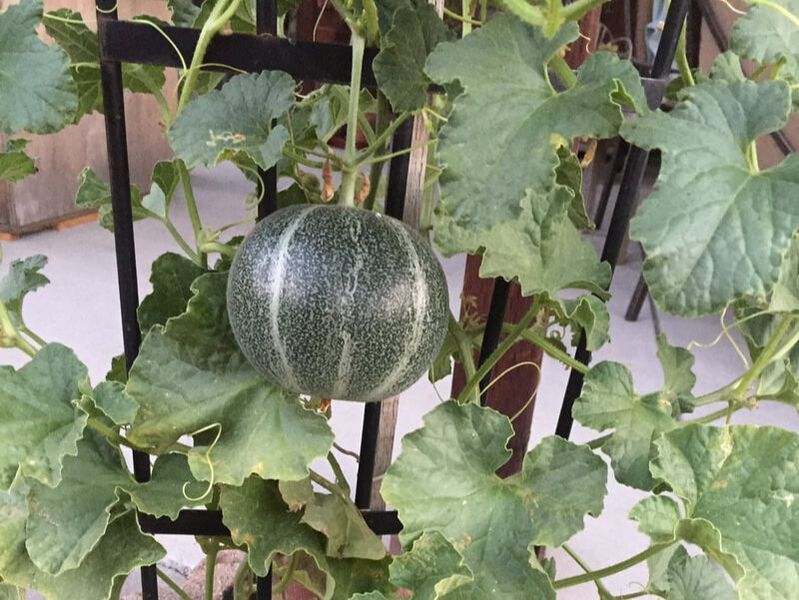 Melon plant (Kate Russell) How to grow melons
Melon seeds are big and easy to work with. In the Bay Area, melons can be planted in May and June. They really love hot weather. Prepare the planting area by digging compost into the soil and creating hills. Each hill should be approximately 4 feet square. Plant 3 to 5 seeds, one inch deep and two inches apart, into the middle of each hill. Water the area well. Once your seeds have sprouted and grown into seedlings with a few sets of leaves, snip the smallest plants off at ground level, rather than thinning by pulling them out. This lets the remaining plant’s roots and helpful soil microorganisms stay undisturbed. Melons need to be watered every 2 or 3 days during the peak of summer. Sometimes even more. Regular watering can help prevent the fruit from splitting open. Side dressing melon plants with aged compost during the growing season also improves both crop quantity and quality. Side dressing simply means putting compost next to the plants and watering all those yummy nutrients into the surrounding soil. Easy and effective. You may want to add a layer of straw or sawdust under your melons, to get them up off the ground. This helps prevent rotten areas, and insect and fungal infestation. Melons can also be grown in containers, towers, or straw bales, and trellised. The fruit itself will need personal hammocks if you use a trellis. You can tell a melon is ready to harvest when you see a slight crack around the stem where it is attached to the fruit. This is called the “full slip” stage. Crenshaw, casaba, and some honeydew varieties do not develop a slip. Casaba and honeydew melons can be stored for several weeks, while other varieties are best eaten right away. Troubleshooting melon problems Melons are susceptible to the same problems as cucumber, pumpkin, and squash. Use the symptoms listed below to find (and solve) your melon problems!
Cutworms, wireworms, crickets and grasshoppers, various beetles, earwigs, stinkbugs, and thrips may also try getting into your delicious melons, so be vigilant! (A light dusting of diatomaceous earth might help, too.) Cross-pollination myth All too often, gardeners hear the myth that members of the Cucurbit family can cross-pollinate. This is simply not true. Pollination between different species does not occur. What can happen is two different types of melon can cross-pollinate. In fact, that’s how Crenshaw melons came about - Persian melons were crossed with casabas. As you prepare to start growing your own melons, be sure to Plant It Forward with any leftover seeds! Clay soil is prone to compaction. 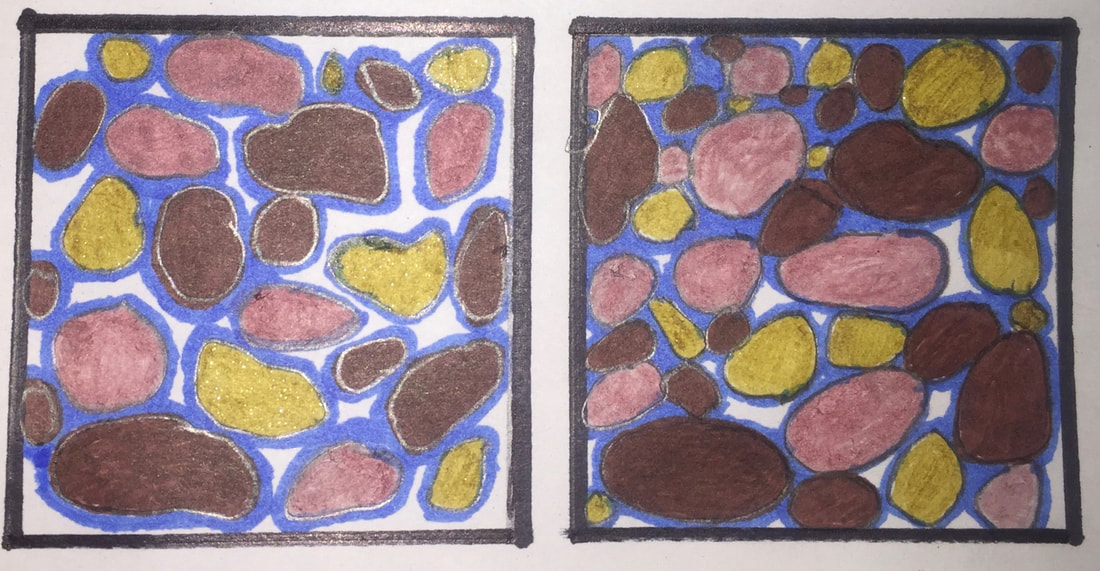 Loose soil (left) has plenty of room for water (blue) and compacted soil (right) does not (Kate Russell) Healthy soil is loose enough to allow roots and earthworms to move around freely, while still providing support and structure. Unlike sand (which has its own problems), compacted soil has too few macropores and micropores (larger and smaller spaces) between soil particles. These spaces are needed to hold air, water, and nutrients for plant roots. Compacted soil can prevent water from moving into the soil (infiltration), through the soil (permeability), and out of the soil (drainage). Standing water can drown plants and create mosquito habitat. It can also make life difficult for tender new seedlings trying to get a healthy start by reducing nutrient uptake and poorly anchoring plants to the ground. Soil compaction hurts mature plants, as well, by reducing nitrogen levels in the soil, as well as other nutrients. What causes soil compaction? Every step you take presses down on the soil beneath your foot. Healthy soil can spring back. Soil that is walked on too frequently loses that ability and it becomes compacted. Other common causes of soil compaction include:
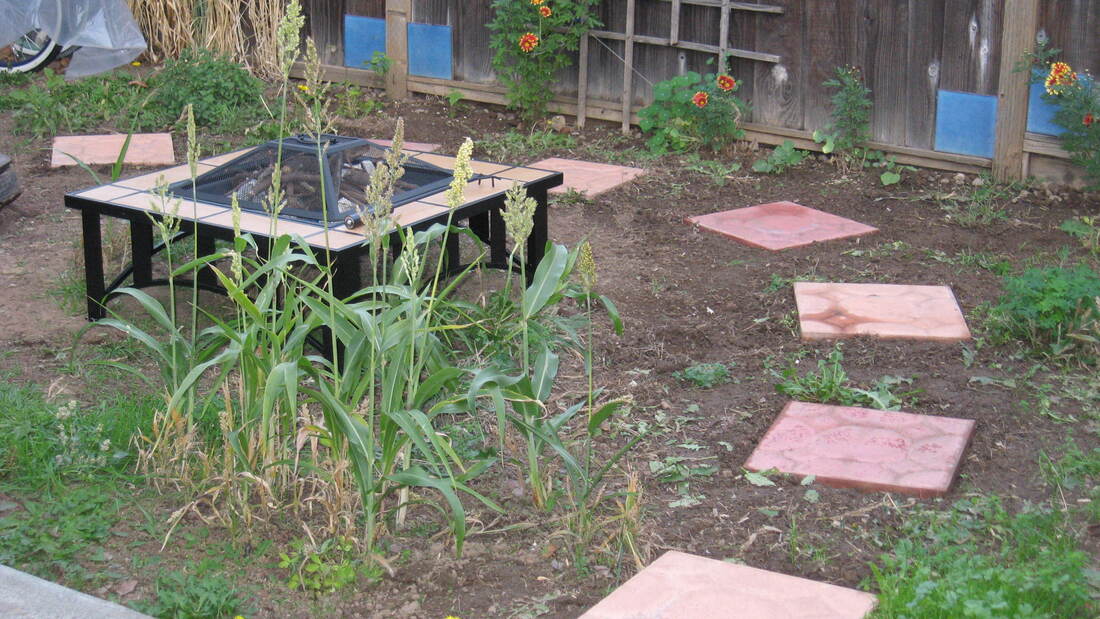 Stepping stones protect against soil compaction (Kate Russell) Plants that counteract compaction Deep taproots can help break up compacted soil. Put these plants to work for you, rather than compounding the problem with further digging. Adding these plants to your landscape can help reduce compaction and improve soil structure:
Other tips to reduce soil compaction
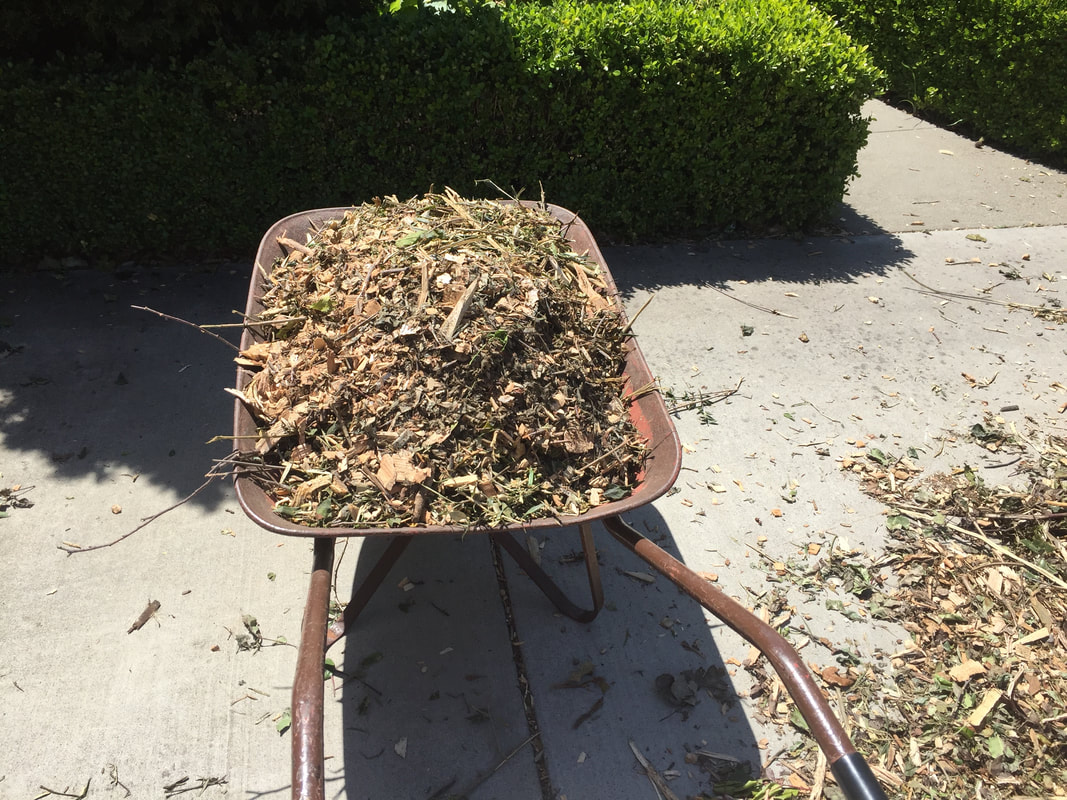 Free arborist wood chips are a good treatment for compacted soil (Kate Russell) The very best thing you can do for compacted soil is cover it with a thick layer of aged mulch or some wood chips and leave it alone for a while.
|
Welcome!You can grow a surprising amount of food in your own yard. Ask me how! To help The Daily Garden grow, you may see affiliate ads sprouting up in various places.
You can also get my book, Stop Wasting Your Yard!  Index
All
Archives
April 2024
|
 RSS Feed